Tag Archives | efficient irrigation

Lake Oswego – Fall 2015

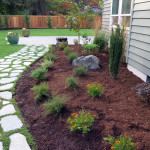
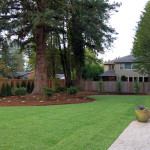
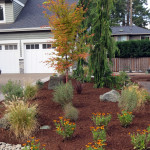
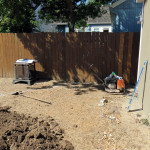
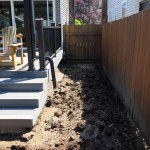
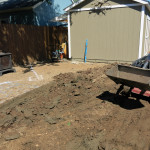
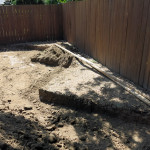
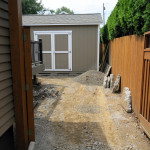
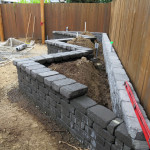
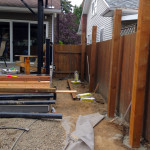
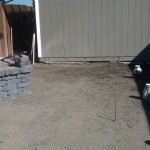
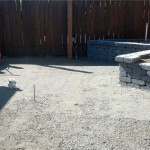
This was a large residential project that we finished in Lake Oswego on a new construction home last fall.

Elements of this project included:

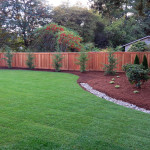
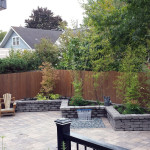
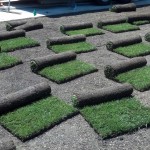
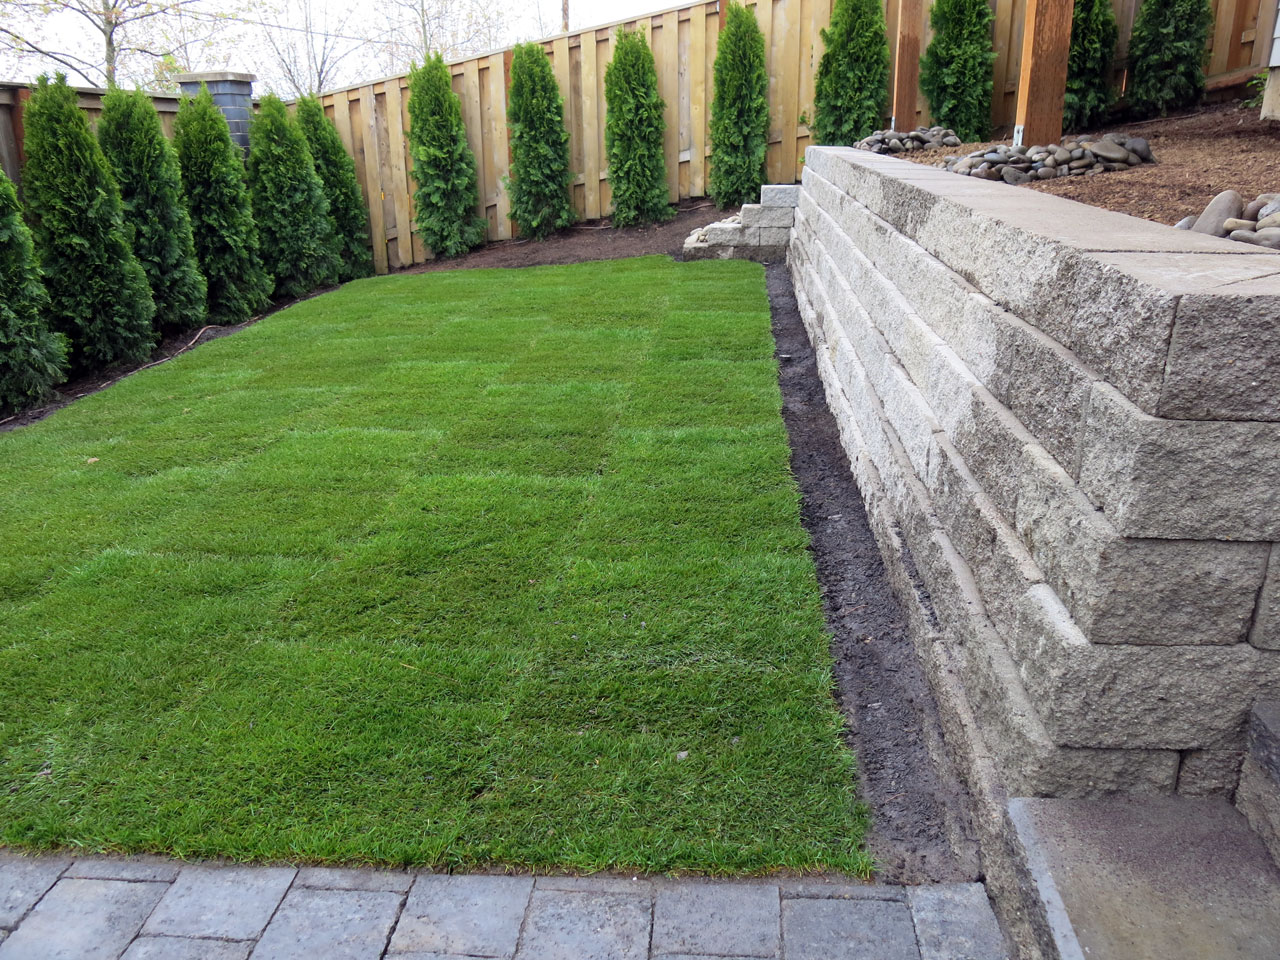
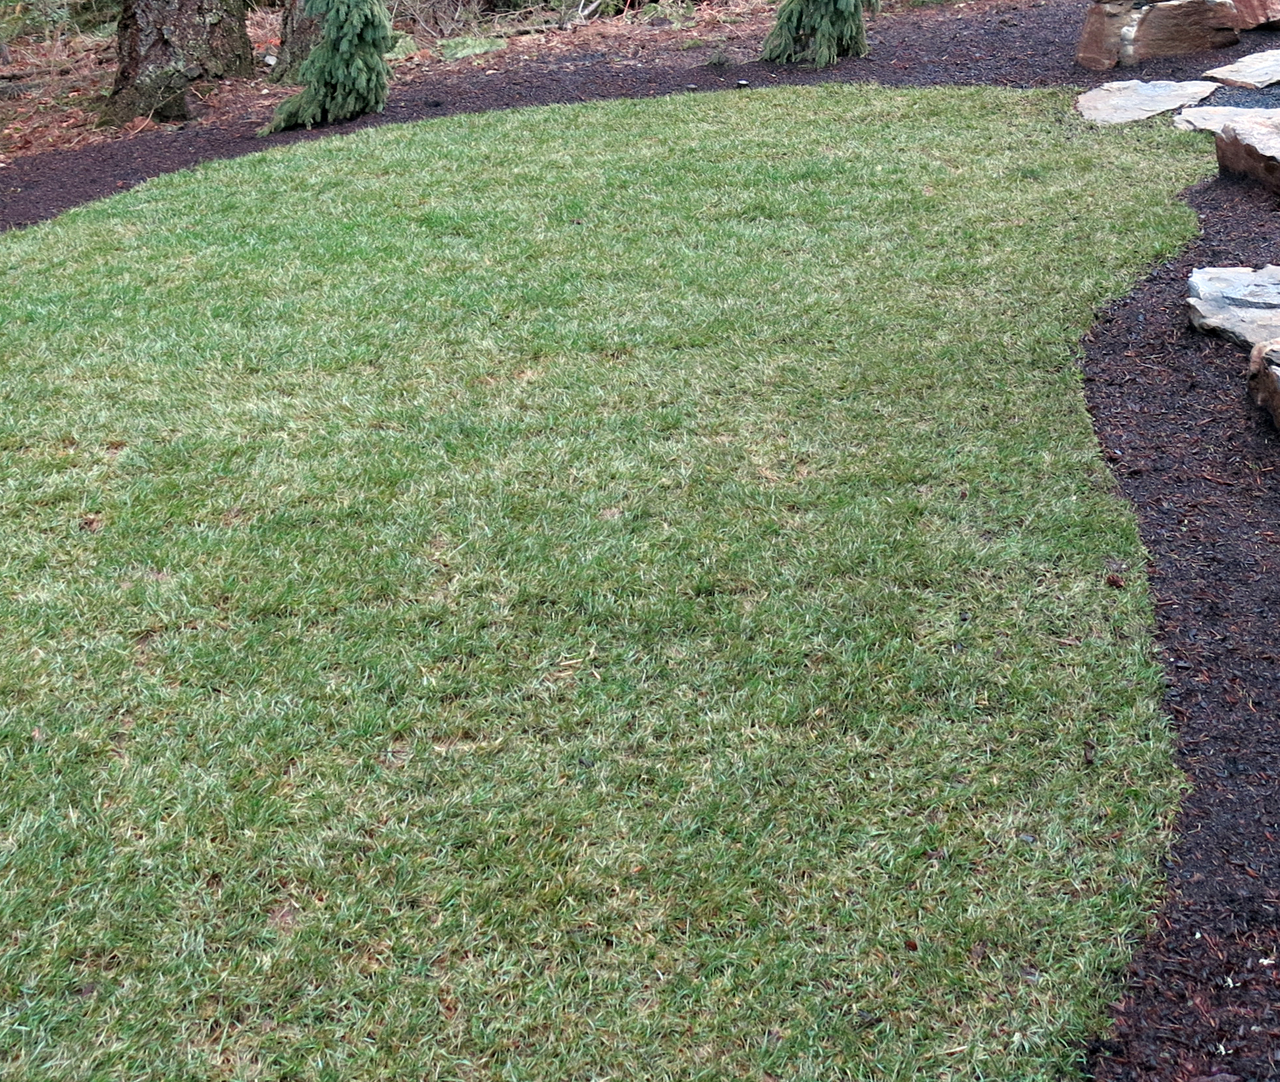
  • An expansive Tall Fescue lawn:  This tough yet beautiful turfgrass will require less water and maintenance once established, and will stand up to regular use with ease.
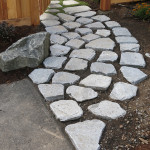
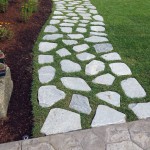
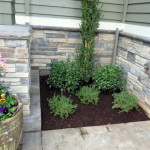
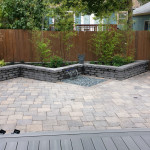
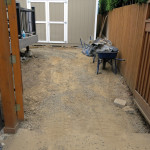
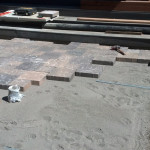
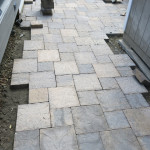
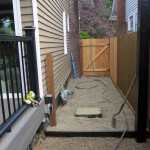
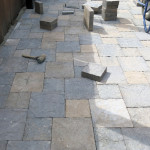
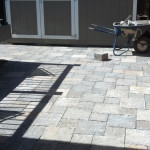
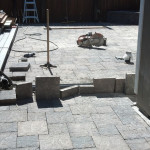
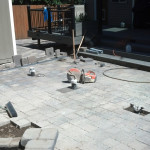
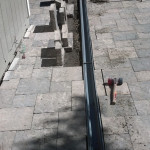
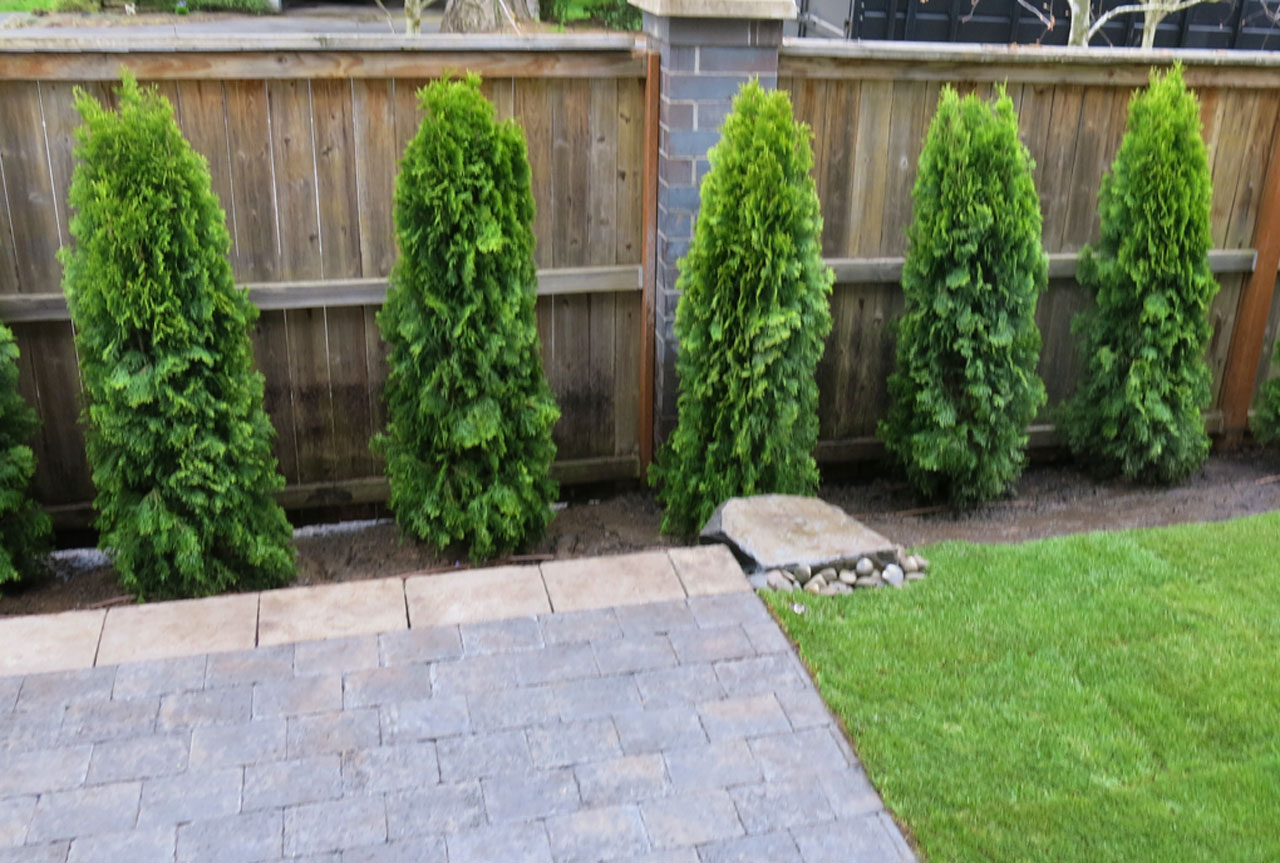
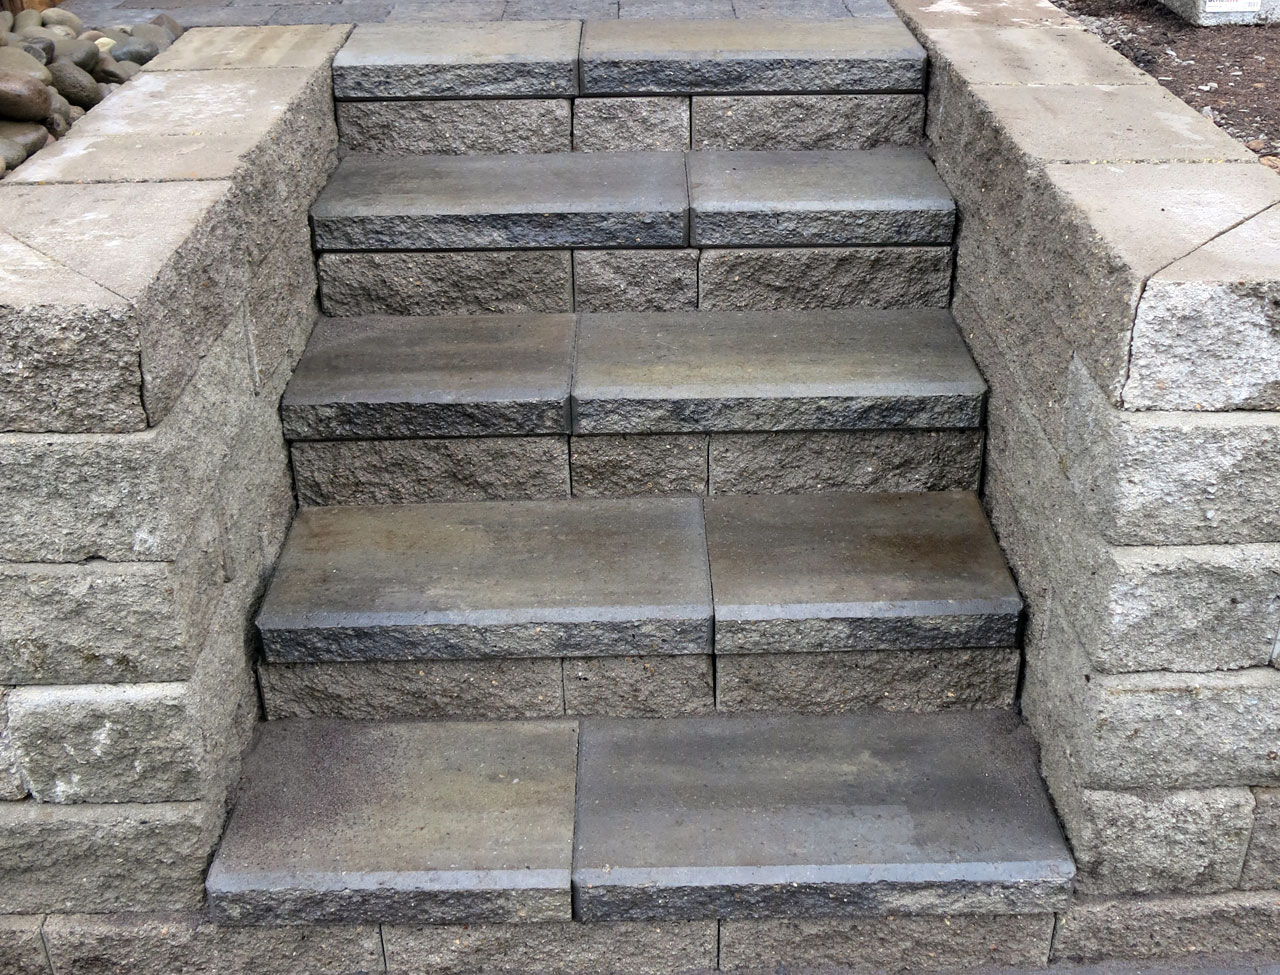
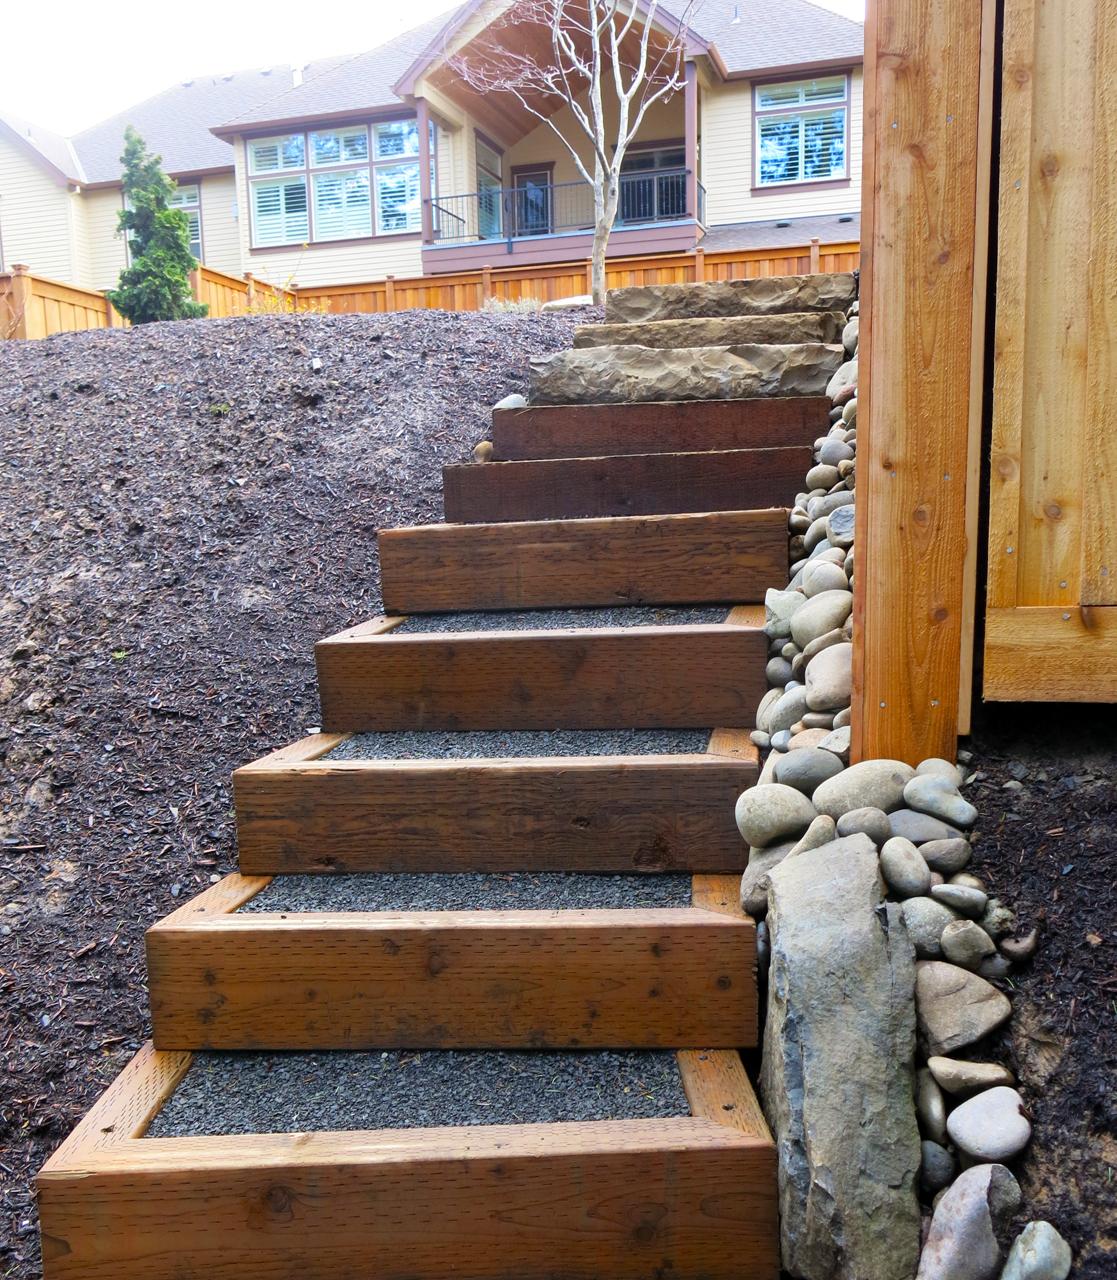
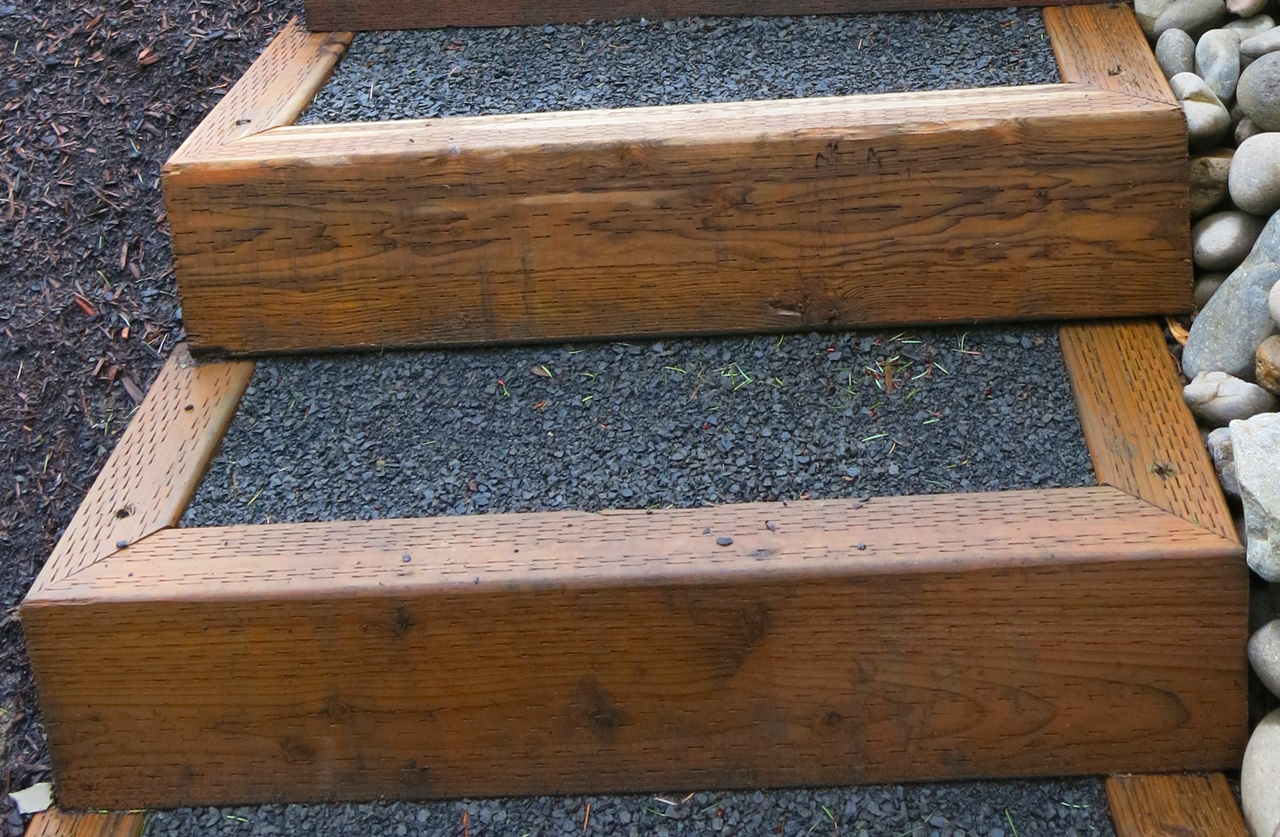
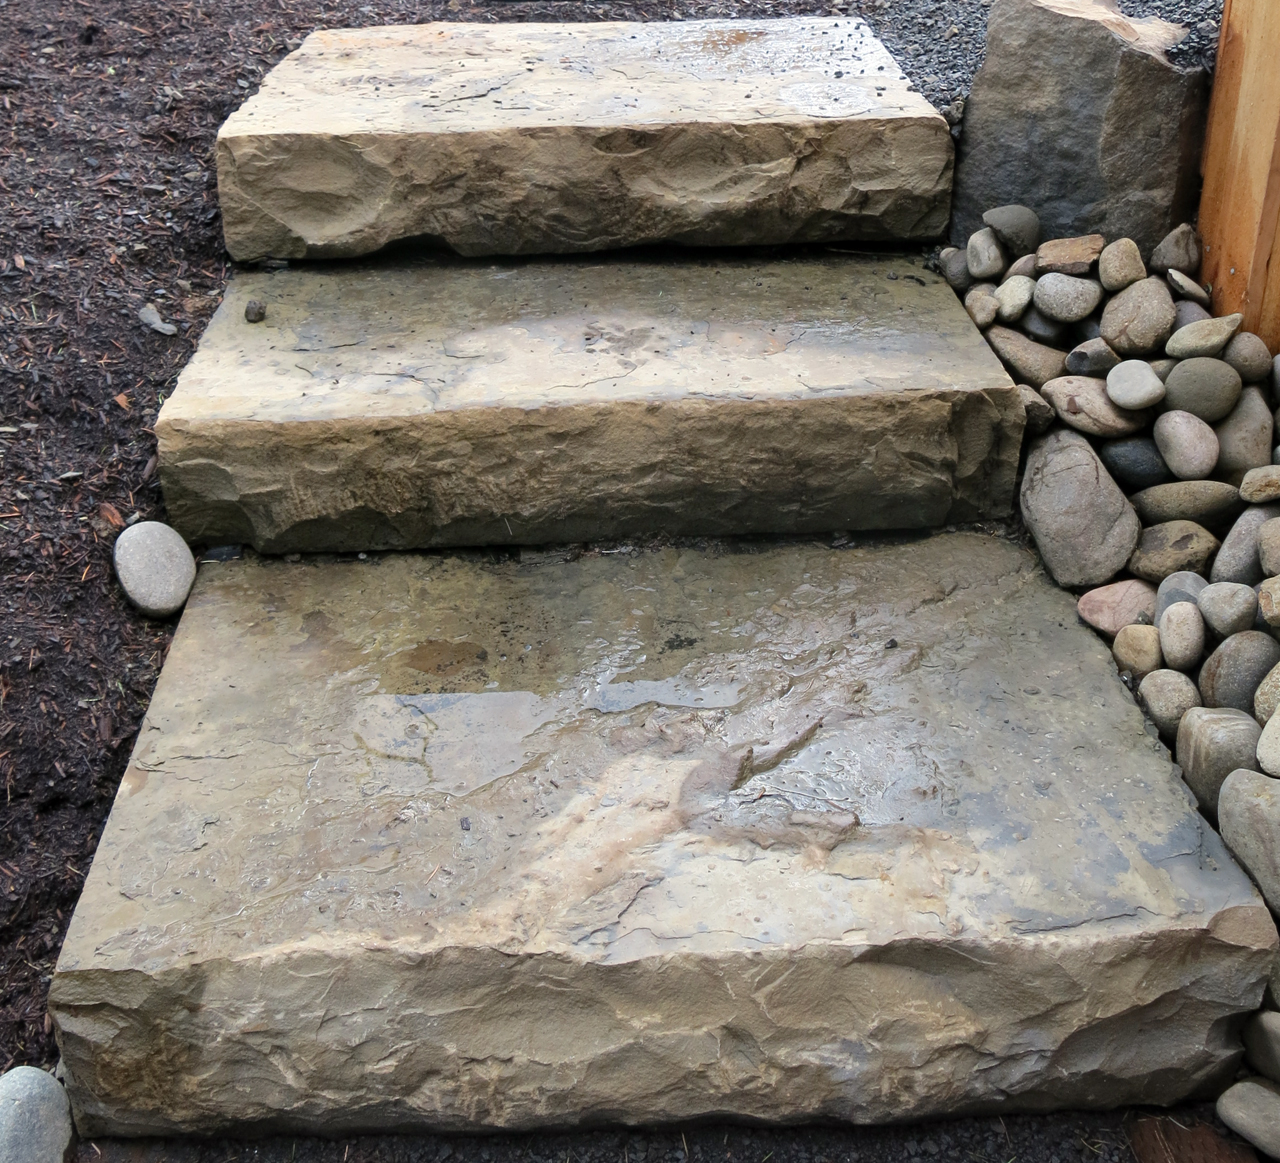
  • Stone walkways:  We used a lot of stone walkways in this project to access various parts of the landscape.
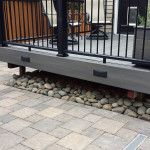
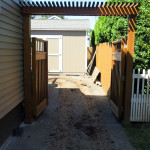
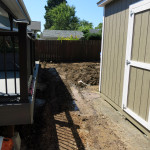
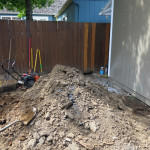
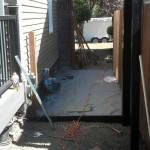
  • A drainage system:  The back yard had some leveling issues and a major drainage problem when we arrived.  We leveled the rear lawn and installed a generous amount of drainage to create the level, rolling expanse of grass that you see in the images.
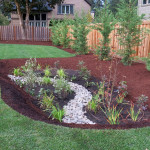
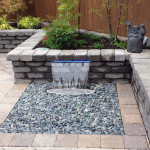
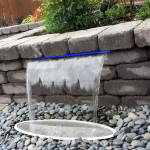
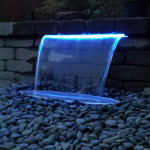
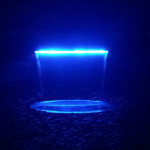
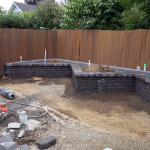
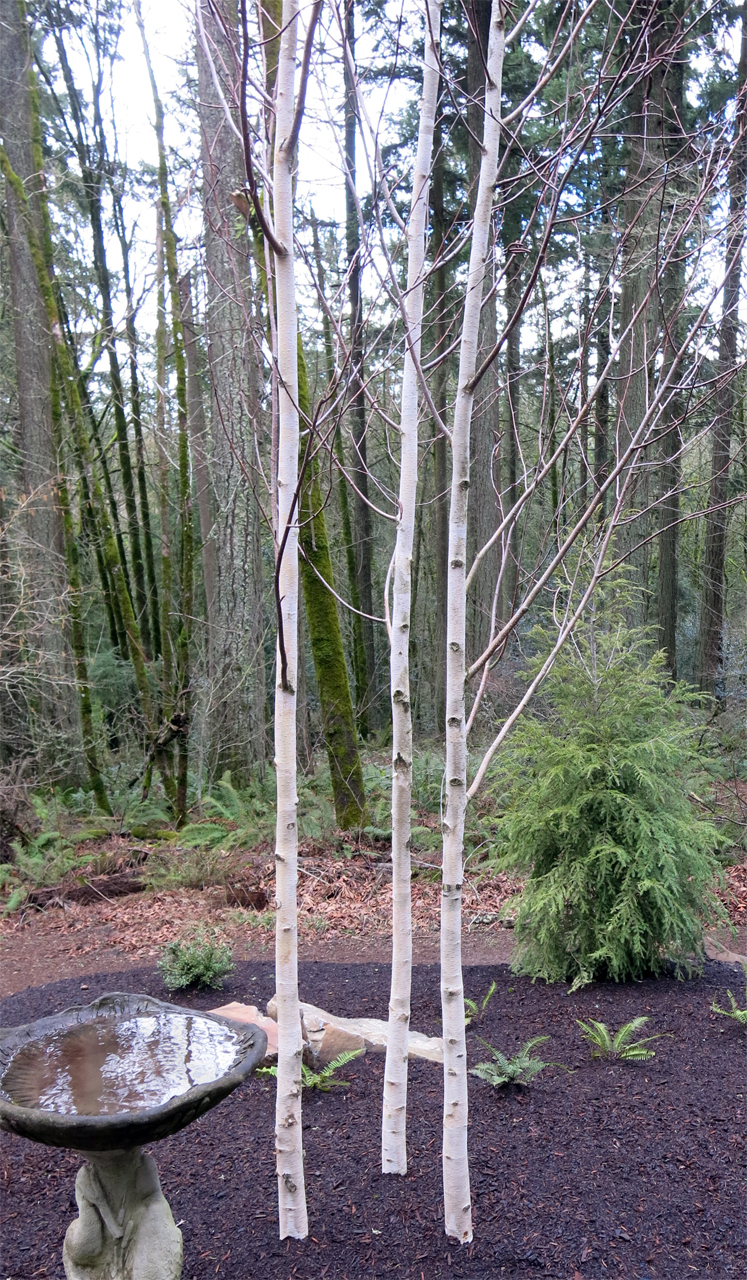
  • A rain garden:  We constructed a rain garden that is not only gorgeous, but also allows the landscape to manage some of its runoff onsite.  Water that would normally end up in a storm drain is instead kept on the property and allowed to soak back into the soil.
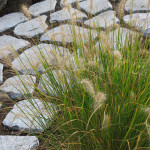
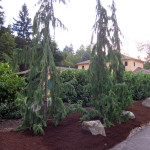
  • Numerous grasses and perennials:  We really enjoyed the colors and textures of this project.  The fall colors were beautiful, and the selection was designed to provide interest in all seasons.
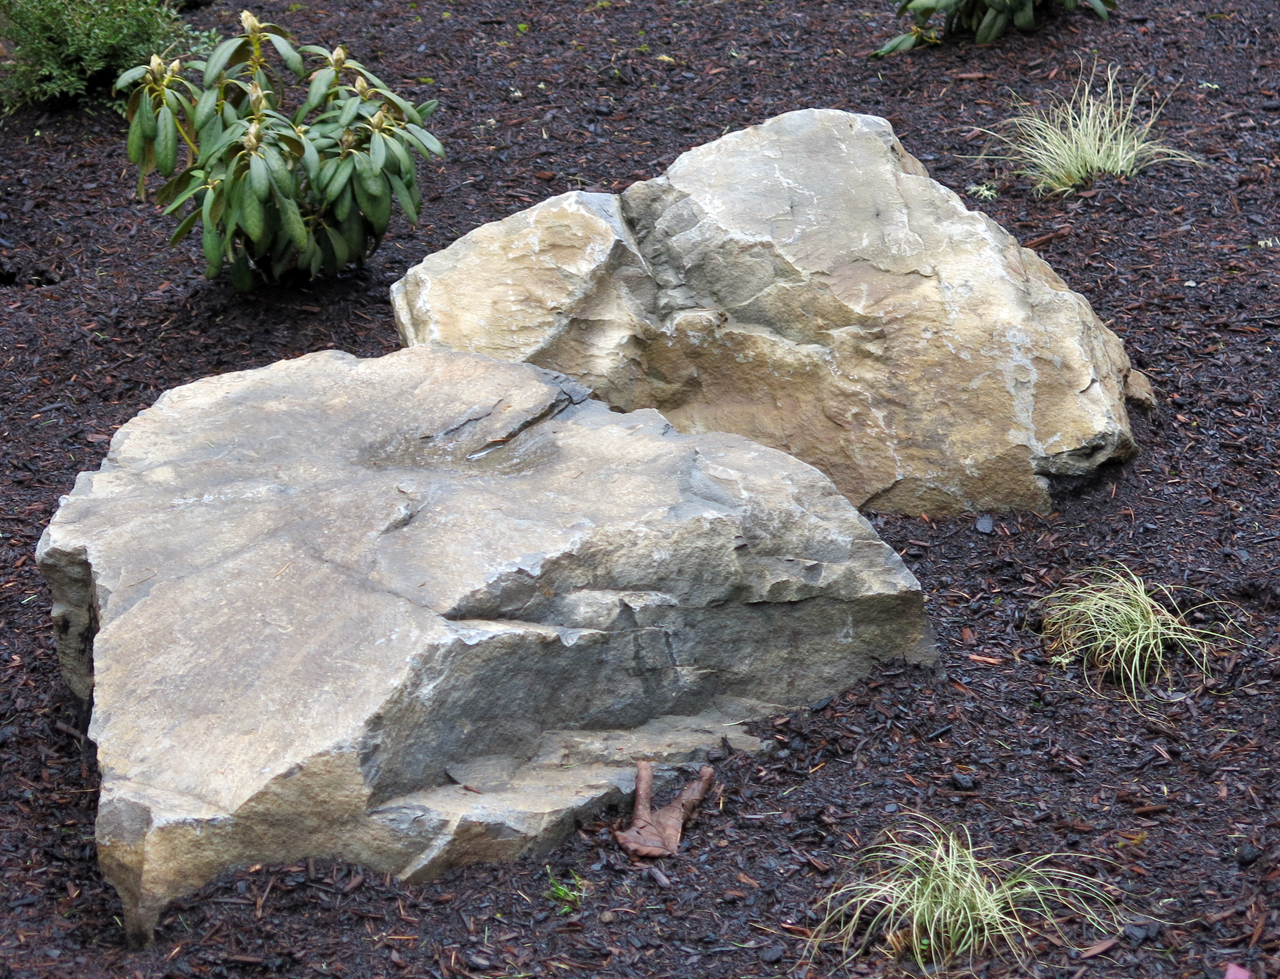
  • Boulders:  A well placed boulder makes a strong statement.  We strategically placed a number of large boulders throughout the project to provide structure and contrast.
  • An extensive Rain Bird irrigation system:  We love our Rain Bird irrigation products, and really put them to good use here.  This landscape incorporated a number of irrigation zones, most of them with high-efficiency drip irrigation.  Our drip systems will keep the water low to the ground and near to the plants that need them, only using the water that is necessary and keeping it in the landscape instead of running into a drain.
Continue Reading

Sellwood – August 2014

This is a backyard renovation project in the Sellwood District of SE Portland that we completed in early September.  Normally, we post pictures of the finished project, with maybe a picture from before we started work, but we decided to do things a little bit differently this time.  A lot of details are involved in putting together a quality landscape project, so we took pictures of this project as it went through the different stages leading to completion.

This project involved transforming a boring backyard into am inviting and functional outdoor living area.  When we started, the highlights of the yard included wood chips and old concrete.  There really wasn’t much to write home about when we began, but over the course of a month, we transformed this dull area into a beautiful outdoor living space.  The wood chips are gone, the concrete has been removed, and in their place we have installed a large paver patio with raised planting areas and a water feature.

The highlights of this project include:

  • A textured concrete paver patio:  We used two paver sizes to create a patterned patio area.  The pavers are concrete, but are textured to resemble slate.  We used a color blend that has some slightly warmer tones in it to soften the area and add some color contrast.  Runoff from the patio is diverted into a series of pre-manufactured dry wells (flo-wells) to manage the water on site.
  • A stacked stone wall:  The edge of the patio blends into a stacked stone wall that contains a large planting area.
  • A water feature:  A waterfall cascades from the stone wall, complete with blue LED lighting effects.  The water feature includes an autofill valve and an overflow drain to make it as easy to manage as possible.
  • A privacy screen:  A large wooden screen provides privacy for the hot tub area and outdoor shower.  The screen was built with 6×6 pressure treated posts and stained 2×6 cedar boards.
  • A dog run area:  The fence was extended along the side of the house, and a new gate added for access.  The dog run area is contained with pressure treated lumber and filled with pea gravel so it can be hosed out more easily.
  • Irrigation:  The plantings are watered by a Rain Bird drip irrigation system for maximum efficiency.  We installed an easy-to-use Rain Bird ESP-RZX irrigation controller.  We also installed a new double check backflow device for the current and future irrigation needs.

We have included two photo galleries – On that shows the finished project, and one that shows the project in varying stages of completion.

Here are the final pictures of the project:


Here is a gallery showing the project as it progressed from the beginning to just before completion:


Continue Reading

North Portland – June 2014

We’ve been working on a number of projects this spring, but this is one of our more recent endeavors.  An aging lawn in North Portland was in desperate need of rehabilitation, and the homeowner wanted a water feature for their backyard.  John Darby Landscape, Inc. sprung into action, and despite the exceptionally hot weather, transformed the old weed-ridden turf into a beautiful green lawn, and created a charming water feature that will continue to delight for many years to come.

For this project, we had to install a new irrigation system from scratch, as the older house has never been irrigated.  We installed two zones of lawn irrigation, using high efficiency Rain Bird VAN nozzles.  We also added a highly efficient drip irrigation zone for the existing flower beds, and installed a Rain Bird ESP-RZX controller that is extremely reliable but also simple to use.  We had to install a new double-check backflow device as well for the irrigation system.  After this, we installed hardy RTF Tall Fescue sod, which will require less water and fertilizer as it ages and will provide a very tough and durable lawn surface.

For the water feature, we constructed a double cascading waterfall with an upper and lower pool.  Pictures are more effective than words, so please take a look at the picture in the gallery below!  The water feature has the added bonus of plenty of room for planting, including a planting space for a small tree between the two water cascades.

Continue Reading

Seasonal Irrigation Adjustments

Rain Bird ESP-RZX Seasonal AdjustSummer is here, and although we have had a stretch of wet weather, the warmer weather is coming back!  This means that your lawn will most likely require more water in order to stay green, which sends most people scrambling out to their garages to figure out how to make their irrigation controllers apply more water during the warmer weather.  There is a feature found on just about every irrigation controller, regardless of the manufacturer, that can make your life far simpler.  Unfortunately, most people don’t know that the feature exists, or how it works.

The “seasonal adjust” feature goes by many names depending on who made the controller.  Rain Bird, which we use in all of our installations, calls the function “seasonal adjust” in most of their controllers.  Other manufacturers call it a “water budget”, and there are probably other names for it as well.  All of these functions work the same way – by increasing (or decreasing) the set watering times by a percentage value.  For instance, if you have a watering zone set to go on for 10 minutes daily, and set the seasonal adjust to 150% (or +50% depending on the model), that zone will now water for 15 minutes daily.  At 70% (or -30%), the zone will come on for 7 minutes.  Please note that different controllers use different notations for calculating the seasonal adjustment.  Most Rain Bird controllers we come across use a 5%-200% range, with 200% being twice the programmed watering time and 100% being the actual programmed value (lower values indicate a decrease in the programmed times).  Other controllers, such as the ESP-RZX (a great, simple to use Rain Bird residential model) denotes the adjustment as a +% or -%.  In this case, +50% would be the same as 150% on the other models.  Consult your manual if you are unsure.

Why is this feature so handy?  The intention is that you set your controller program at a baseline level (100%, or +/- 0%), and use the seasonal adjust feature to increase or decrease the watering time depending on the season.  In July/August, you may raise the adjustment to 150%.  In late September, you may want to lower it to 60% until you finally turn it off for the season.  The bottom line is that instead of having to go through your controller and changing settings for every zone, you can universally increase or decrease your watering with a single, simple, straightforward setting.

Continue Reading

Tigard – April 2014

Here is another backyard transformation.  We turned this yard from a sloped nightmare into a level, usable space.  After removing several truckloads of soil to bring the grade down to a reasonable level, we constructed a sturdy stone retaining wall to create a level landing for the yard and patio.

We then constructed a set of stone stairs that allow access to the new yard from the house.  The stone stairs lead down to a beautiful paver patio, which is bordered by a lush new lawn.  To complete the project, we planted arborvitae around the perimeter to provide privacy and greenery.  And of course, we installed an efficient irrigation system for the lawn and shrubs using quality Rain Bird parts.

Although we are finished with our part, there is still so much future potential in this “new” yard.  We created the solid foundation, and now the homeowner has lots of new options for planting and other landscape enhancements!

Continue Reading

Bull Mountain – January 2014

This was a continuation of a project that we have been working on in phases (See Bull Mountain September 2013).  This phase was particularly challenging due to an extremely steep hillside that made access to the project area difficult.  In typical John Darby fashion, we challenged the hillside right back, and transformed an inaccessible nightmare into a stylish yet durable usable space.

Some highlights of this phase include:

  • A Custom Cedar Trash Enclosure –  The steep hillside made it impossible to hide trash and recycling receptacles out of sight, so we improvised and built a custom enclosure that extends out over the hillside and provides an enclosed, level place to store these unsightly necessities.  The hidden bonus?  The enclosure platform also provides safe and level access to the utility meters and irrigation controller.
  • Stairs, Stairs, Stairs – One particular feature that really stands out on this project is the generous helping of stairs.  As mentioned before, the hillside on this project was a real challenge, and made safe access to the lower yard a major challenge.  Through a combination of quarried basalt and boxed steps, we transformed the hillside from a hazard to a work of art.  Boxed steps are a rugged yet economical alternative to stone stairs, and can also serve as the base for a number of different tread materials.  In this instance, we used compacted gravel for the tread surface.
  • Irrigation – We continued the irrigation system using quality Rain Bird parts.
  • More Tall Fescue Sod – We really love this stuff, and used it again in the lower yard.
  • More Boulder Accents – We used a lot of boulders in this phase to define and complement the landscape.


Continue Reading

A New Landscape for 2014

A new landscape for 2014
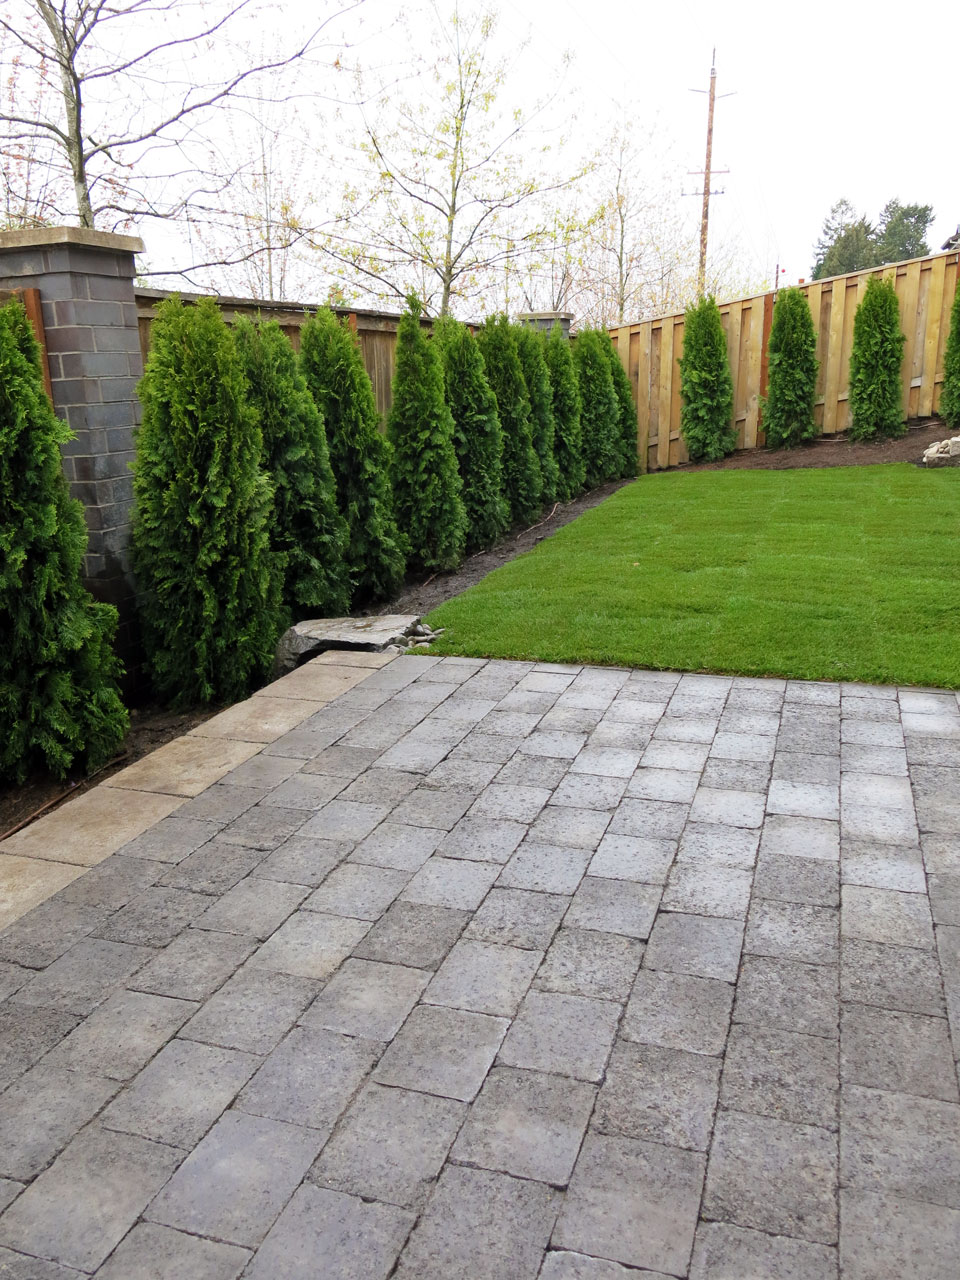
Welcome to 2014!  2013 was a busy year at John Darby Landscape, Inc., and we want to thank all of you that we had the opportunity and privilege to work with last year.  We are looking forward to another great year in 2014, and wanted to remind you all that landscape projects in our region can generally be done at any time of the year (with some exceptions for polar vortexes and hurricanes, but those are fairly unlikely).  As we move toward the spring and summer season however, our calendar fills up fast, and we sometimes have to delay new projects by several weeks during the busier months.

Besides scheduling, here are some good reasons to tackle your landscape project in winter instead of waiting for warmer weather:

  • You get a jump on the season.  You can be sitting in your lawn chair marveling at your amazing new outdoor living space while your neighbor is still trying to figure out where he left the shovel last fall.
  • Fall and winter plantings establish faster.  Planting in the cooler weather gives plants an opportunity to establish and get prepared for our harshest season – summer.  Whereas summer plantings are “what you see is what you get” until the next growing season, fall and winter plantings have the benefit of an extra spring growth flush.
  • Let nature provide the water for establishment instead of your wallet.  Fall and winter plantings use the natural abundance of seasonal rain water to get settled in and get past the fragile “newly planted” stage.  Summer plantings rely completely on irrigation systems to establish themselves, which means more money out of your pocket every month when the water bill comes in.  Early planting and an efficient irrigation system can cut the watering costs dramatically!
  • Hardscape projects such as paver patios, walkways, and garden walls form the backbone of your landscape.  By getting these main elements in place now, you will be able to focus on more important things once the sun comes back.

Whatever your landscape dreams for the new year, we can make them happen!


Continue Reading

Licensed, Bonded, and Insured - LCB# 7110